Monday, April 25, 2011

Easter Tart

We went over to our friends' house on Saturday for an Easter party, which included a Peeps art contest and an egg hunt around the house for the kiddos. Little was a little to young to get the egg hunt part, but did a top-notch job of playing his part in our living art piece -- Peepzilla. He first picked off the Peeps lounging around on the landscape and moved on to banging on the buildings and swaying them around. It was a lot of fun. My contribution to the party (aside from the afternoon entertainment) was something that I've been aching to try -- a grapefruit tart. We have two bakeries in town that make their own versions of this seasonal treat, so after sampling both I decided to give it a try. 


I couldn't really find an exact recipe, so I decided to go to my favorite cookbook, The New Best Recipes by Cooks Illustrated, for inspiration. I settled on their recipe for pastry cream and sweet pastry dough for the shell and filling and surfed the internet a bit for instructions and photos on slicing and arranging grapefruit. The tart has several steps, but they were surprisingly easy and can be done ahead of time, so you don't have to spend all day in the kitchen. My food processor made the dough a breeze, and I found out (thanks to Cooks Illustrated) that the secret to a silky custard is straining it while hot through a fine-mesh sieve. Brilliant!

For this tart, I used four grapefruit: three ruby red and one pink for color variation. The pink grapefruit was definitely more tart, so it was a nice flavor contrast too. In order to get the fleshy slices, you have to peel and segment the fruit. Basically, you cut off either end down to the flesh and run a very sharp paring knife down the sides in curved slices to remove the skin and all of the pith (preserving as much flesh as possible). Once you remove all of the skin, you then segment the grapefruit according to the natural divisions. Run the knife along side one of the paper thin membranes to almost the core and then use the knife to sort of pop it out of the skin. Then, you move on to the next segment until the entire grapefruit is sliced. Oh, and don't forget to gently press the slices between two paper towels before placing on the tart -- you don't want vanilla custard soup from all of the extra juice. I practiced arranging the slices on a plate before actually topping the tart, which really helped the presentation. The only detail I left out was sprinkling coarsely chopped pistachios on top (a garnish used at St. Honore's bakery) because I ran out of time. I will opt for this next round though, because the bright green flesh of the pistachio nuts looks so pretty with the red grapefruit.


This particular recipe for the tart shell and cream called for a 9 1/2" tart pan with removable bottom. While the sweet pastry dough was sufficient for for the tart size, there was a lot more cream than I needed. I think next time, if I'm bringing this to a party, I'll make 1 1/2 times the amount of tart dough and use an 11" pan. The tart is ideally eaten within a few hours of preparation, so don't fill the shell until you're ready to serve (or leave the house). Due to time constraints, I filled the tart and topped with the grapefruit about an hour before we ended up leaving and stuck it in the refrigerator. It held up well, but started to get a little loose after sitting at room temperature for a few hours. Although Little was a little skeptical, the tart was delicious. I think I'll have to make another while the grapefruit are still juicy and sweet.


Tart Recap:
9 1/2" tart pan with removable bottom
1 recipe of Cooks Illustrated Sweet Pastry Dough
1 recipe of Cooks Illustrated Pastry Cream
4 grapefruit, peeled, segmented, and blotted dry
coarsely chopped pistachios for garnish (optional)

Wednesday, April 20, 2011

Great Camera Debate

I've been pondering DSLR cameras for a while, but started seriously doing some research after playing around with one on a recent visit to my parents' house. I then realized that while my point and shoot takes lovely photos, I'm really missing out. I also feel that it's not completely unreasonable for me to look into shifting into better quality photos, given that I took photography in college and really enjoyed walking around with my camera in hand -- and since I now have such a fun subject, I've really been itching to start up again. 

After doing initial research, I narrowed it down to two companies, Canon and Nikon, which are pretty much the leaders in the DSLR business. Since I already own a Canon SLR, I decided that I'd just run with it and stick to what I know. I didn't bother looking at Nikon, because it was a lot easier to compare models within one family than look at the multitude of options that arise when you open the playing field. Until a week ago, I'd settled on the Canon T2i. It's on the higher end of entry-level cameras and was pretty much going to max out my budget, but I decided that maybe I should invest in a body that I could grow into and invest in a nice lens at a (much) later date.

However, I went over to our friends' house and got to play around a bit with his new Nikon. I really liked the feel and it prompted me into expanding my research. After doing a bit more digging, I learned that you're pretty much a "Canon" or a "Nikon" kind of person, so I didn't take this search lightly knowing that it would likely set my camera preference for the foreseeable future. A million camera forums later, I came to realize that unless I'm going to really start to do specialized professional photography, a good entry-level DSLR body will do, but it's the lens that matters. With the Nikon that I'm looking at, I'll save about $200-250 on the body and kit lens, which means that I can really learn how to use the camera and invest in a good lens right away.


I went to a couple of camera shops in town and played around with both. I think my mind is set, the Nikon is my camera of choice.

Friday, April 15, 2011

Eggs 'n Beans

For anyone who reads my blog with some regularity, you know that I am no stranger to beans. Love them. All kinds. I am somewhat of a bean snob, texture, taste, and look are very important. No mushy beans, thank you. Until Little came along, I'd swear by the dutch oven as the only way to cook beans. You can see why Little is confused to find my trusty Le Cruset on the shelf for the latest round of red beans and rice. However, I've found that the slow cooker makes a mean red bean. I've tested it twice now, just to be certain, that it produces the creamiest, most delicious beans ever -- maybe even better than my trusty red friend (gasp). Also, it takes about 10 minutes of prep time and I can forget about them for 4-5 hours without the worry of stirring to ensure that they don't scorch on the bottom. In a rush to get the beans going the first time, I left out the sausage for added convenience and found that the vegetarian version is pretty excellent. I've tried to restart my weekly regimen of making a large batch of beans of any variety so we can have delicious, healthy leftovers for various dishes. 


Our most recent creation with leftover beans, was an attempt to replicate the egg dish that I enjoyed so much at Hi-Life in Seattle. We made a couple of changes: replaced the flour tortilla with corn, added more scallions, and subbed my red beans for the spicy black beans. Without the added spice to the beans, I was able to liberally apply my favorite condiment, Cholula. The result was delicious and maybe even a touch better than the original. It was a perfect weekend dish, but I've actually made it part of my hearty second breakfast routine this week. Finding quick, yet gourmet-tasting, meals has been key to us actually eating regularly at home. 

It also means that I have time to devote to making food for Little. I realized the importance of this when I went to the grocery store last week to pick up a few jars of reserve food. I found that the prepared stuff is insanely expensive, full of preservatives, and well, kind of looks gross. As I held a jar of sweet potatoes that had a weird salmon pink color, and a jar of green beans that were sort of brown, I realized that I hadn't gotten so busy that I couldn't put a damn potato in the oven every once in a while. This week the little Sir is enjoying pureed chicken soup and rice, steamed broccoli, roasted red bell pepper sauce, and yogurt. He tolerates the broccoli, but gobbles it up when paired with the peppers. He's even had a taste of the pureed red beans and rice, which he initially downed, but now makes him gag. Not sure what's going on there, but no son of mine would ever reject red beans and rice.

Brasilliant's Slow Cooker Red Beans

1lb small red beans, picked through and rinsed
1 onion finely diced
1 bell pepper (red or green) finely diced
3 cloves garlic, minced
3 carrots, peeled and finely diced
3 celery ribs, finely diced
6c vegetable (or chicken) stock
6 oz. andouille sausage, diced (optional)

(here's where the recipe is a pretty inexact science)
1 T Penzey's Cajun spice
2 tsp thyme
3 healthy pinches of kosher salt (or more to taste)
Few shakes of onion powder
Few shakes of hot sauce (Cholula)

Add all of the ingredients into the slow cooker, set to high, put on the lid and forget about it for about 4 hours. You can stir occasionally if you want, but I usually leave the cooking part to J, which means that our beans are never stirred. After 4 hours, check for doneness. The beans should still be whole with skins in tact, but creamy and delicious inside. I usually find that this method cooks the perfect bean, but leaves the sauce a little soupy. I just uncover the beans, turn it to low and let it cook for another hour or so to let some of the liquid evaporate. 

If you were so inclined, adding some andouille sausage around the 3 hour mark would probably be pretty delicious. I think I'll try that next time around.

Sunday, April 10, 2011

Seattle With My Dudes

J had a business meeting in Seattle on Friday, so we decided to extend the trip overnight and take a mini vacation. I hopped on Priceline, held my breath and bid on a 4-star downtown hotel for $75. To my surprise (and delight) the offer was accepted. Seriously, $75 a night. We ended up at the Grand Hyatt on Pine -- super swanky and way cheaper than if we had gone with our usual, Holiday Inn Express. Little enjoyed racing down the hallway, which was shiny, cool, and made lots of noise when banged. It also led to the bathroom, which had a giant mirror over the tub -- perfect for admiring one's hair and giggling. Speaking of the bathroom, the shower was larger than our walk in closet. In fact, we could have hosted a dinner party in there if given a little more time to prepare. I think we're going to do this Priceline thing more often.

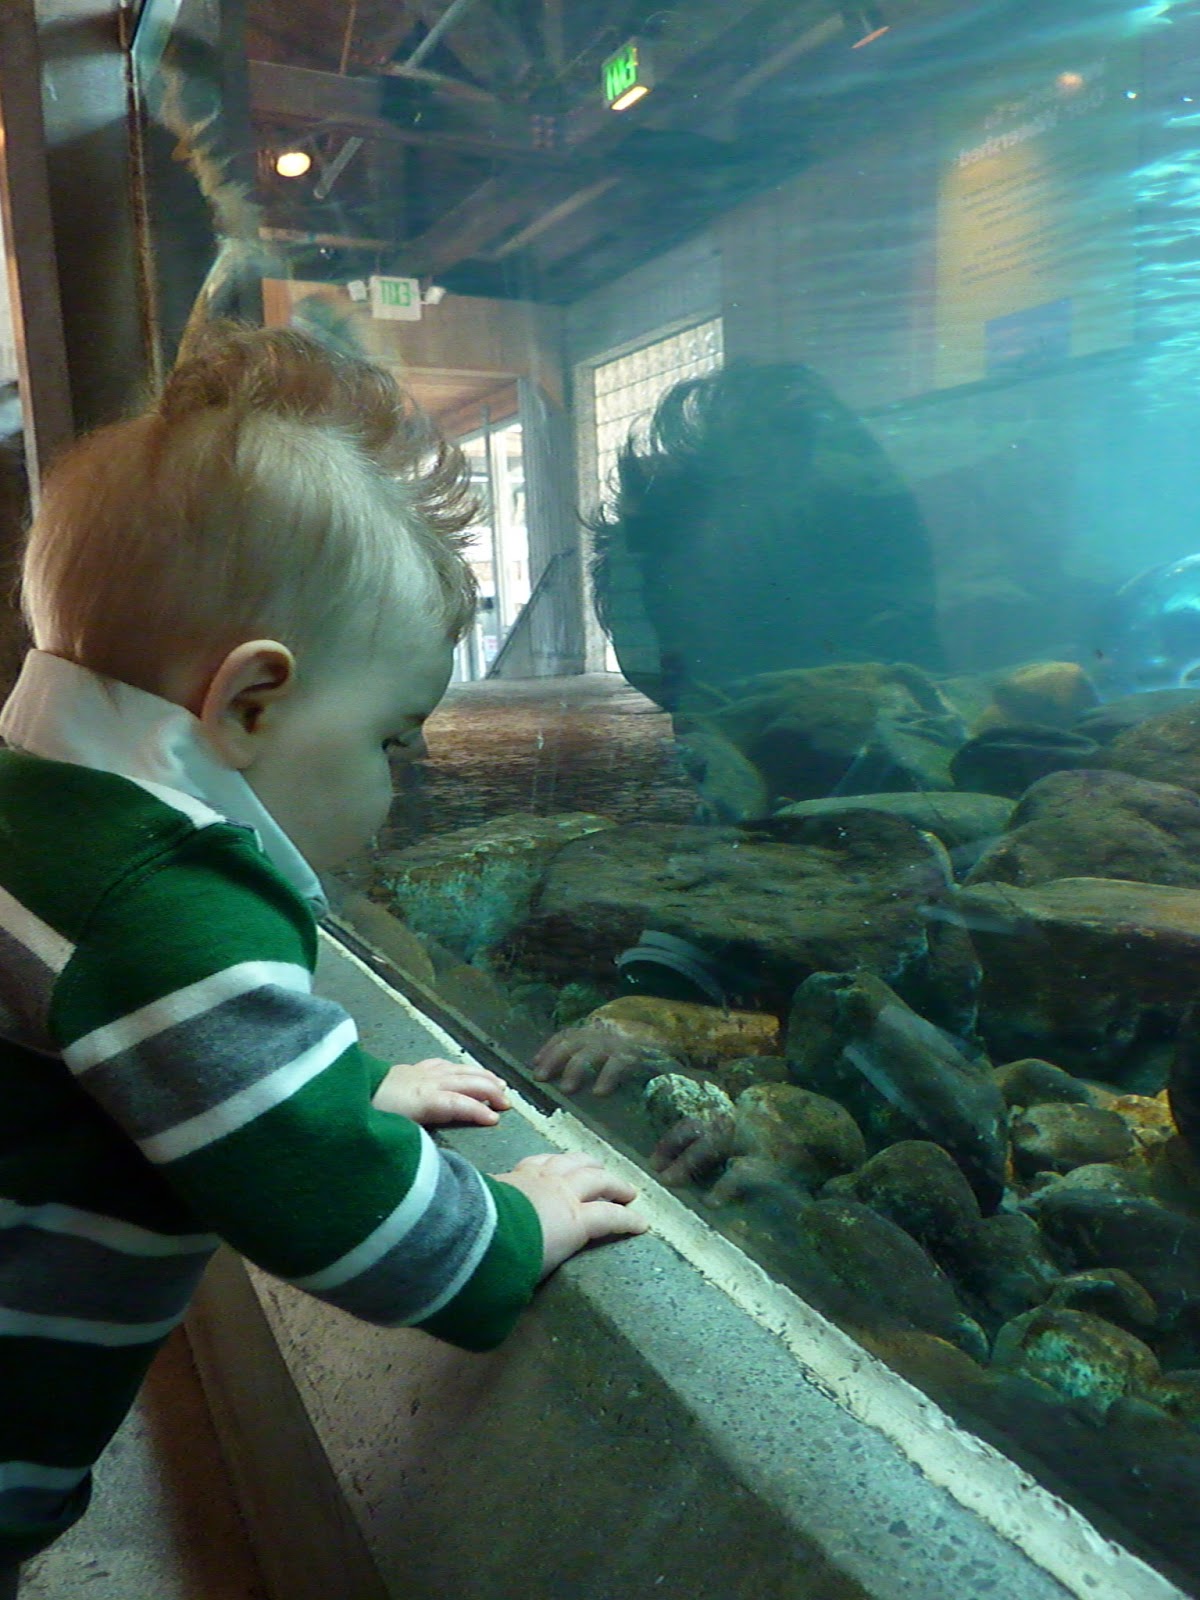
While J attended lunch meetings and work sessions, Little and I cruised over to the Seattle aquarium for the afternoon. Just when I thought that he was a little too young to appreciate the fish, we headed over to the sea otter tank and spent most of the rest of our time watching them dive into the water and skim the edges of the tank. It was pretty awesome to watch Little stare into the water and gasp when the otters swam by. After we spent some time watching them below the surface, we moved on to the outdoor tank and spent a good deal of time watching them above ground. The otters splashed, rolled and played on the rocks and would dive in the water for a special thrill. I'd say the day was a success. We then went down to the tide pool area and observed other little kids touching sea anenomies and starfish. 

After the aquarium, he and I walked around and then met up with J for dinner with Jeremiah & Jeovanna. It was such a nice little getaway -- just what I needed after a week of just me and Little. On Saturday morning we met up with Jeremiah for breakfast in the Ballard neighborhood in Seattle at Hi-Life. Seriously, the breakfast was a revelation. J had a fried egg with herbed breadcrumbs, dash of vinegar and home fries so good that we weren't even tempted to apply ketchup. I had eggs sunny side up (cooked to perfection I might add) over black beans and a flour tortilla filled with sharp cheddar and scallions. I will strive to replicate the deliciousness in the next week or two.

For now, I'll leave you with Little, the 4-star baby:

Wednesday, March 30, 2011

Vogue

Sometimes a picture is worth a thousand words, but I think this one needs a little more explanation. Yesterday morning, Miles was in a spectacularly restless mood (probably something to do with the teeth that will never pop out) and was using my body as a jungle gym. Again. I, on the other hand, was feeling rather sloth and just wanted to stare blankly into the distance while Skyping with my mom, wolfing down breakfast, and chugging my morning coffee. The fact that I constantly have little hands, a nose, and sometimes an entire head groping around in my undershirt really doesn't phase me anymore. Miles has learned to use my zipper now, which makes life a lot more interesting (especially in public). It is for this reason that I walked around the house for about five hours with a pacifier stuck in my cleavage and had not a clue. Apparently, Miles unzipped my hoodie, stashed it in there, zipped me back up and went on with his baby business. I found it when getting ready to take a much needed shower.

The only good part of this story is that the grey hoodie pictured above is a cute pre-pregnancy sweatshirt that has replaced the size large maternity thing that I've been wearing around the house for the past six months -- silent cheer from Jesse who is thrilled, no doubt, that his wife is no longer wearing things that look like she borrowed them from a tubby hobo.

Which brings me to the real reason for today's post. Somehow I managed to get on the email list for Vogue patterns and quarterly, I'm updated on the new seasonal fashions and alerted to great sales. I went online this morning and thumbed through some of the Summer 2011 preview and found a few really cute patterns. It reminded me of the pact that Jesse and I made when I was pregnant -- we set aside funds for me to go out shopping for a few cute pieces to add to my wardrobe once I returned to a size that made me feel good. Well, I've been back to my pre-pregnancy weight for over four months now and still haven't done much about finding new things to wear. I have no solid reasons anymore for dressing like a slob.

I decided that rather than spend my funds on a new dress or two, I'd like to finally get a proper dress form so I can play around with dressmaking again. The duct tape form I made was great for deciding if I really wanted to tailor my own clothes, but it's heavy, clunky, and makes my pins sticky. Also, despite the fact that I actually weigh a bit less now than before Miles came along, my body shape has changed dramatically. Things are a little more curvy and a little less, ahem, perky. I think I'm going to do a little research online today to find the dress form that will work for me and maybe Vogue pattern V1086 could be a cute summertime dud.